How To Create A Website(Step By Step Guide)

Building a website is easier than you might think, and we cover the entire process, step-by-step, in this tutorial.
In this guide, you’ll learn how to create a beautiful website quickly and easily, without having to learn HTML/CSS and without writing a single line of code.
You’ll also learn how to avoid some of the unnecessary costs of building a website. You don’t need an expensive website builder!
This comes from our experience building dozens of websites over the last 10+ years. We know what works, and we’re here to walk you through every step of the process.
We’ll do our best to help you out.
Sound good? Let’s dive in!
Step 1: Choose A Platform For Your Website
There are so many different platforms and website builders out there, and choosing the right one can feel a bit overwhelming.
WordPress, Drupal, Squarespace, Joomla, and Wix are just a few examples.
So which website builder should you use?
Well, let’s take a look at what other people are using.
The Most Popular Website Builders
According to BuiltWith, here’s a breakdown of website builders by market share:

Why We Recommend WordPress
It’s no coincidence that WordPress holds such a strong lead—it offers a number of advantages over other website builders.
- WordPress is completely free. While you’ll still need to purchase a domain name and a web hosting account, there is no cost associated with WordPress itself (unlike many other website builders, which can be quite expensive).
- WordPress is extremely powerful. Whether you’re starting a blog, creating a business website, or building a full-fledged e-commerce store, WordPress can handle just about anything.
- WordPress is easy to use. Even if you’re a total beginner, it doesn’t take long to get comfortable using WordPress—and you don’t need any coding knowledge to build a great website.
- Your domain name is your website’s unique web address, e.g.
yoursite.com - Your web host is the service that stores your website’s files and connects it to the public Internet
If you’re just getting started, we strongly suggest going with WordPress.
Step 2: Get A Domain Name & Hosting Account
Before you can start your website, you’ll need a domain name and a web hosting account.
Choosing Your Domain Name

👉Click here to head over to HostGator and pick your hosting plan:

Almost There…
Finally, you’ll need to enter some information to create your HostGator account and process your payment. Then you have the option of choosing a billing period of 1, 6,12 or 24 months. Once you’re satisfied with your options, click the Pay Now button.
Step 3: Install WordPress On HostGator

To get started, click the Set Up Site button.
On the next page, select “Start New Website,” and choose WordPress as your application.
At the bottom, you’ll create your WordPress admin account by entering an email address and password. These are the credentials you’ll use to sign in and manage your website.
Next up, it’s time to customize your new site.
Step 4: Log Into Your WordPress Dashboard

Log in using the email address and password you chose in the previous step.
Your WordPress dashboard will look like this:

This is where you’ll manage every part of your website, from your theme and appearance to your pages, blog posts, settings, and so on.
Step 5: Customize Your Basic Site Settings
Now that your website is up and running, there are a few basic settings you’ll want to customize to your liking.
Start by navigating to Settings > General in the main WordPress Menu.

On this page, you can change your site title from the default placeholder.
You can also add a short tagline, which may show up in various places on your site. This is optional—you can just delete the placeholder text if you’re unsure.
Finally, be sure to set the timezone to match your local time.
When you’re happy with these settings, scroll down and click Save Changes.
Step 6: Install A WordPress Theme
Now it’s time to make your website look beautiful.
One of the reasons I love WordPress is because it’s ridiculously easy to customize your website and build something truly unique. That’s made possible by themes.
WordPress themes determine how your website looks. They don’t change your content itself (posts pages, etc.), but they do change how that content is displayed on your site.
As an example, you could go from this:

WordPress comes with a default theme that gets an overhaul about once a year. As you’d expect, it’s compatible with most of the things you’d want to do with a WordPress site.
Step 7: Customize Your Theme
Chances are, even the best theme won’t look exactly the way you want right out of the box. You’ll need to do some tweaking.
Luckily, WordPress has a great feature where you can customize your site’s appearance while viewing a live preview, so you can see the effects of your changes in real time.
After you’ve chosen a theme, go to Appearance > Customize to open the WordPress customizer.

On this screen, you’ll see a number of appearance options in the left sidebar, with a live preview of your site on the right.
Every theme has its own unique options in the customizer, from typography to colors, layout options, and more. You’ll definitely want to spend some time going through these settings and tweaking them until your site looks just right.
Step 8: Add Content To Your Website
While design is important, the most crucial part of any website is its content.
By default, WordPress supports two main types of content: pages and posts.
- Pages are typically used for permanent, static content such as your “About” page and “Contact” page.
- Posts are displayed on your blog in reverse-chronological order, and they usually have a date, categories, and tags associated with them.
Creating A Page
Let’s start by creating a page.
To do this, open up your WordPress dashboard and go to Pages > Add New.
You’ll see a content editor that looks something like this:

It may look slightly different depending on your theme, but the functionality is the same.
Go ahead and enter a page title and some content. It doesn’t have to be perfect yet—you can always edit it later.
The editor divides your content into “blocks,” which are basically little chunks of content like paragraphs, headings, images, tables, etc.
By default, every time you press enter/return, a new paragraph block will be created. This is exactly like writing in any other text editor.
However, if you’d like to add some other type of content, such as a heading or an image, you can click the + icon on the left side to choose a different block.
Notice that the sidebar on the right side provides various options for each type of block.
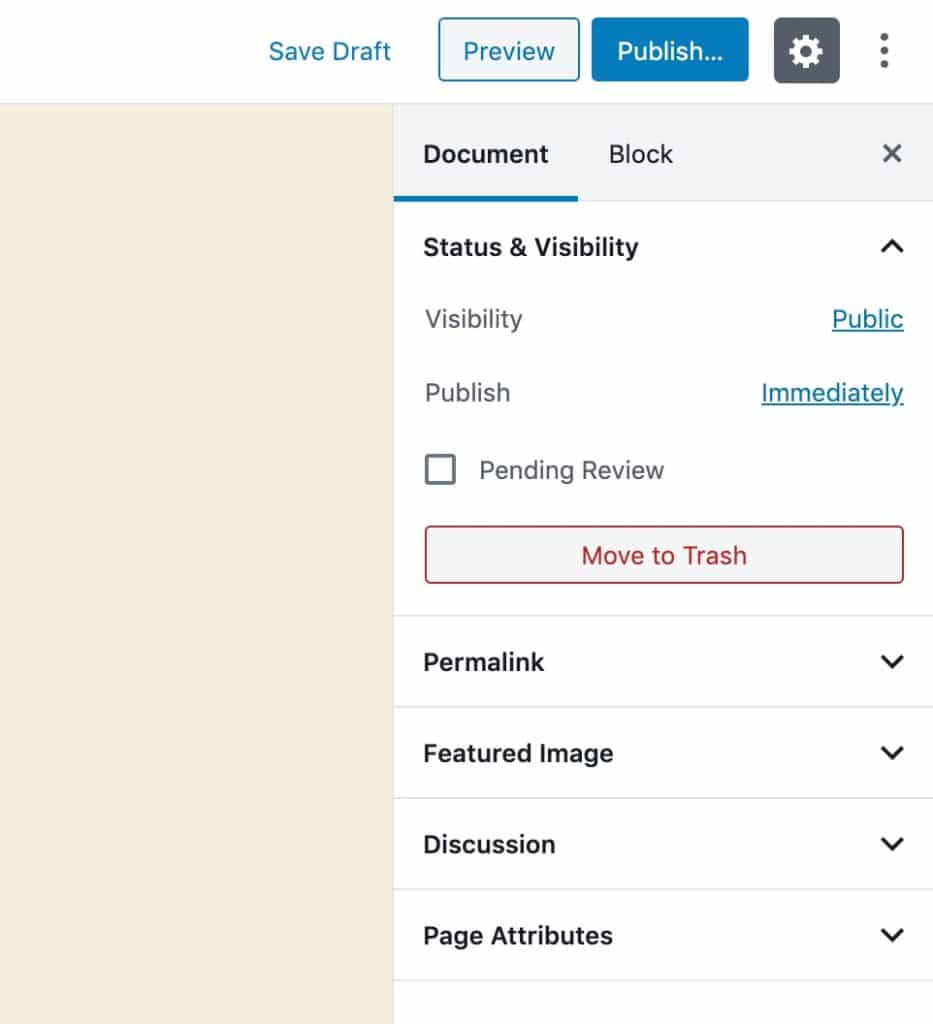
The sidebar also has a “Document” tab where you can edit a few settings for the page as a whole:
When you’re ready, you can click Publish to publish your page immediately, or Save Draft if you want to come back and finish your work later.
If you click Preview, you’ll see a live preview of what this page will look like on your website.
You can view and edit your existing pages at any time by going to Pages > All Pages.
Creating A Menu
Once you’ve created one or more pages, you may want to add them to your site’s navigation menu.
You can manage your menus by going to Appearance > Menus in your WordPress dashboard.
From there, click “create a new menu” and give it a name, then use the options on the left to add whatever items you want:

Once you’ve added some pages to your menu, be sure to select at least one “Display location” at the bottom. This determines where the menu will actually appear on your website.
Creating A Post
The process of creating a post is very similar to creating a page.
Go to Posts > Add New to create your first blog post.

As you can see, the post editor is nearly identical to the page editor.
Setting A Static Front Page
By default, your website’s homepage will show your latest blog posts in reverse-chronological order.
If you would prefer to have more control over what people see when they first land on your site, you can opt to use a static homepage instead.
To do this, you’ll need to create two new pages:
- A homepage — This will be your actual custom homepage. Feel free to customize it however you like.
- A blog page — Because your homepage will no longer show your blog posts, you’ll want to create a separate blog page. You can simply create a blank page and title it “Blog” or something similar.
Then go to Settings > Reading in your WordPress dashboard:

Then specify the homepage and blog page that you just created, and save your changes.
Once you’ve done this, your custom homepage will be the front page of your website, and the blank “Blog” page will now display your latest blog posts.
At this point, we’ve covered all the major steps to creating a website, and you’re well on your way to building something great.
Don’t get discouraged if you run into any problems! There are plenty of resources here on Scam News 20 20 and around the web.
Be patient and keep at it—you’ll master this stuff in no time.


Comments
Post a Comment